TIPS: Grip it!!
Have you ever heard the old saying, “if your grip sucks, then so do you.” Well I just made it up so good chance you haven’t. I believe its true though. Grip can make you feel invincible or balanced on a razor’s edge. Unfortunately this is kinda an overlooked area in snowskating and by that I mean there just aren’t a lot of choices out there. So today’s post will be a couple of tips for gripping your board. This will also prepare you for the not too distant future… where board makers will send you the deck ungripped to save money. If your re gripping a deck then the first thing to do is get the old stuff off. This is a royal pain in the ass and is akin to shaving a pig bald. Adam Bennett at Florida Powder Skates gave me this tip though, put the deck in the oven, (if it will fit) and set the temp at around 150-200 deg. This will warm up the adhesive and the grip will pull right off. I haven’t tried it but it sound better then shaving the pig.
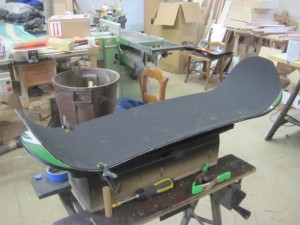
1- Take the grip and position it over the deck, use a small clamp on either side to hold it in place. I like to trim around the tip a bit and take the excess off to build up the tail for a bit more concave.
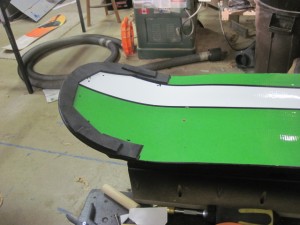
2- After the tail, reposition the grip over the deck and hold in place again with the small clamps at the bend for the tail in back. The clamps really help hold the grip centered and without them its easy to get off track and mess it up. Don’t use tape or it will rip the grip. If you don’t have clamps have someone else hold it there while you get started on the nose. Peel back about 2″ of the grip paper backing and fold it under.
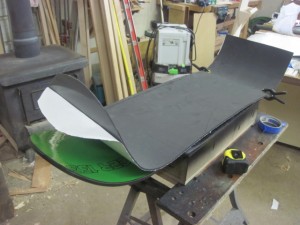
3- Press down the grip at the nose, starting in the center and working your way out to the edge with your fingers, making sure to avoid air bubbles (pop them with a pin if they sneak by.)
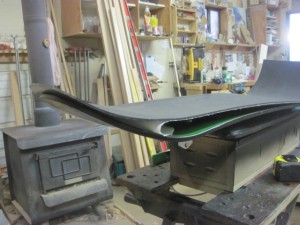
4- Keep working your way back to the tail in 6″ increments, pulling the paper under and back and smoothing out the grip from the center working towards the out side.
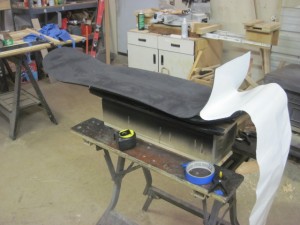
5- When you are finished adhering the grip you can cut the shape. This is the tough part to make clean, and the first try won’t be so pretty. You want to cut without stopping. Start by forcing the brand new razor blade up into the grip.
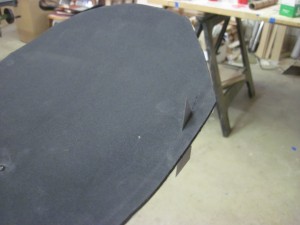
6- You can start a 1/2″ off the nose then cut towards the board until you hit the edge of the deck. Keep the razor blade angled back and pressed against the edge of the deck. Work your way around slowly. The sides will be easier then the tip and tail so go slow. Once you are done, press firmly all around the perimeter of the deck to make sure the edges don’t peel up later. Good luck!


